RECOMMENDED ORDER: ALFRED > LUCAS > LINUS > ASCOT > EDWARD > JOHN > TRUE
If following the recommended route order, load the Alfred-Lucas-Linus common save and scroll to the Linus chapter section.
Chapter 1
Exploration Phase
- Garden 1 – Shard
- Dining Hall (Evelyn + Charlotte) – Shard
- Long Gallery (Nicholas + Edmund) – Shard
- Servants’ Office (Nicholas + Evelyn)
- Entrance Hall (Edward + Lilly) – Shard
- Drawing Room (Lilly + Charlotte)
- Garden 2 (Philip) – Shard
- Estate Entrance
- Library
- Parlor
- Butler’s Office
- Kitchen
- Laundry Room
“See The Truth” Phase
- Red Shard
- Green Shard
- Blue Shard
Miscellaneous Phase
- Burn it.
- Make a move.
- Help with plating.
Exploration Phase
- Estate Entrance (Lucas + Evelyn + Charlotte) – Shard
- Drawing Room (Edmund + Alfred) – Shard
- Entrance Hall (Edward + Philip) – Shard
- Library – Shard
- Dining Hall (Edward + Ascot) – Shard
- Garden 1 (Linus + Lucas) – Shard
- Garden 2 (Ascot + Evelyn)
- Parlor (Alfred + Nicholas) – Shard
- Butler’s Office (Philip)
- Servants’ Office (Alfred + Lucas)
- Laundry Room (Charlotte + Nicholas)
- Goneril’s Shop (Goneril) – Shard
- Bookstore (John) – Shard
- End Exploration (press start/+ button)
“See The Truth” Phase
- Top shard
- Lower left shard (?)
- Lower right shard (?)
Chapter 2
- Next > The parlor.
Exploration Phase
- Entrance Hall (Evelyn) – Shard
- Estate Entrance (Goneril + John) – Shard
- Library (Edward + Lucas) – Shard
- Long Gallery (Edward) – Shard
- Dining Hall (Linus + Edmund) – Shard
- Drawing Room – Shard
- Garden 2 (Edmund + Nicholas)
- Laundry Room (Alfred + Charlotte) – Shard
- Kitchen (Charlotte)
- Garden 1 (Ascot + Alfred) – Shard
- Bookstore (Philip) – Shard
- End Exploration
“See The Truth” Phase
- Top shard
- Lower left shard (?)
- Lower right shard (?)
Chapter 3
- “Mrs. Verde taught me.”
Exploration Phase
- Entrance Hall (Edward + Edmund) – Shard
- Library – Shard
- Dining Hall – Shard
- Great Hall (Charlotte) – Shard
- Parlor (Ascot + Lilly) – Shard
- Estate Entrance (Lucas + Nicholas)
- Long Gallery (Lilly + Nicholas)
- Garden 2 (Linus + Philip) – Shard
- Drawing Room – Shard
- Laundry Room (Evelyn)
- Kitchen (Alfred + Charlotte) – Shard
- Butler’s Office (Edmund + Ascot)
- Servants’ Office (Lucas)
- Garden 1 (Alfred + Linus)
- Heroine’s Private Quarters (Oberon)
- Attic Corridor (Philip)
- Bookstore (John)
- Goneril’s Shop (Goneril)
“See The Truth” Phase
- Top shard
- Lower left shard (?)
- Lower right shard (?)
CREATE COMMON SAVE: ALFRED, LINUS, & LUCAS
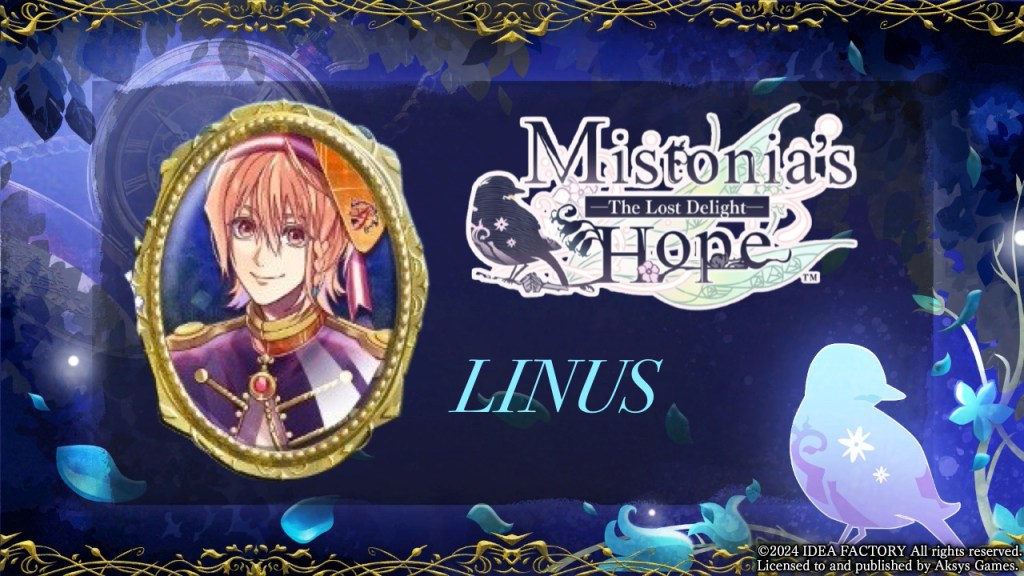
- Linus
Linus Chapter 1
CREATE SAVE #1
- “Thank you.”
- “I’m a little scared.”
Dawn (Good) Ending
Linus Chapter 2
CREATE SAVE #2
- Lean into Linus.
- Follow Linus.
Linus Chapter 3
- “That’s my question.”
- “Do you often sleep poorly?”
CREATE SAVE #3
- “I’ll stay.”
Linus Chapter 4
- “Yeah, it was fun.”
Clown (Bad) Ending 🤡
Linus Chapter 2
LOAD SAVE #2
- Look around.
- Follow Edward.
Linus Chapter 3
- “I am.”
- “Do you have many nightmares?”
- “I’ll stay.”
Linus Chapter 4
- “When do you mean?”
Astray Ending (also bad)
Linus Chapter 3
LOAD SAVE #3
- “I’ll return with Edward.”
Flowchart Completion
Linus Chapter 1
LOAD SAVE #1
- “…What is this?”
- “I’ll help.”

Leave a reply to Mistonia’s Hope -The Lost Delight- Alfred Walkthrough – Switch It On Gaming Cancel reply