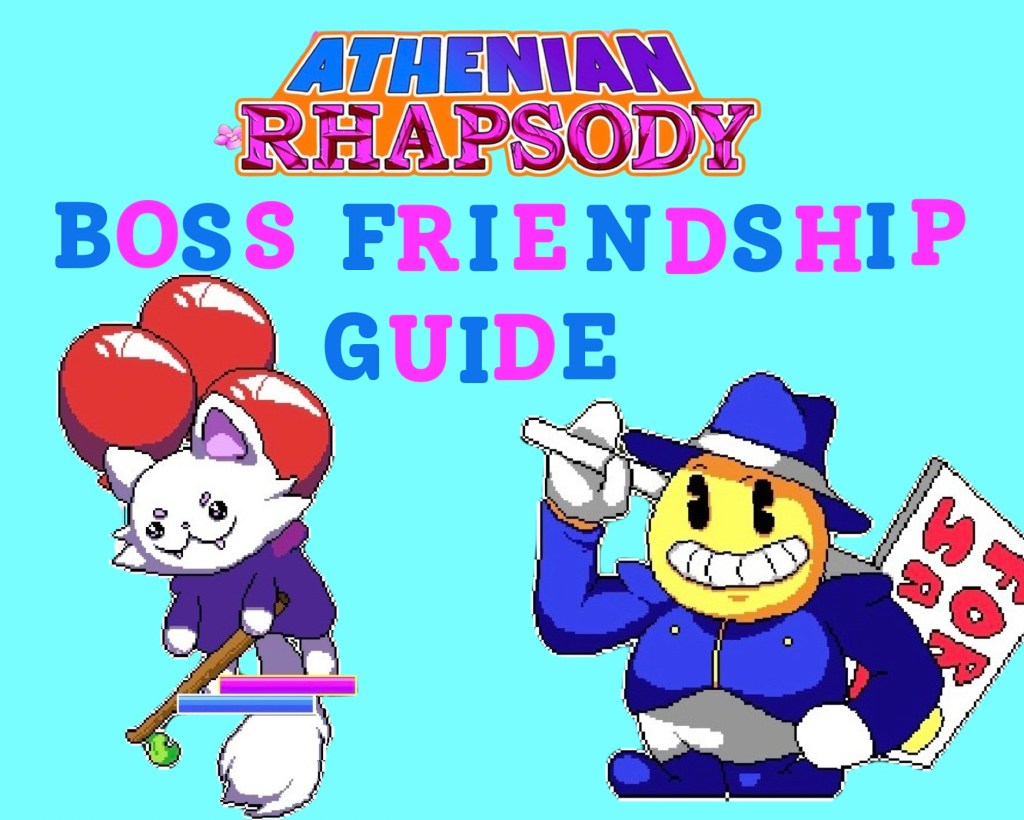
I found around three dozen bosses in Athenian Rhapsody; some were pretty easy to find, but others will make you put in some work to find and fight/befriend them. Below I’ve included images and information on each one I encountered (this may or may not be a complete list). Check out our guide on regular enemies here!
Some notes: Out of the bosses listed below, 16 can be recruited. I don’t think it’s necessary to befriend non-recruitable bosses, but it might be easier than defeating them. You don’t get any EXP for befriending opponents – just cash.
If you are bad at avoiding hits in the mini games/find certain enemies particularly challenging, I highly recommend having someone in your party and swapping to them first thing so their HP takes the brunt of things for you. This gives you some extra time to build up the opponent’s friendship meter without risking defeat. The game brings you back out if your partner’s HP reaches zero.
I also recommend that you defeat some enemies. The game tracks how many you’ve befriends vs killed, and I think it impacts certain parts of the game? Unless you’re decent at the mini games – in or out of battle – I suggest that you defeat a decent amount of regular enemies so you level up and have enough HP as a cushion.
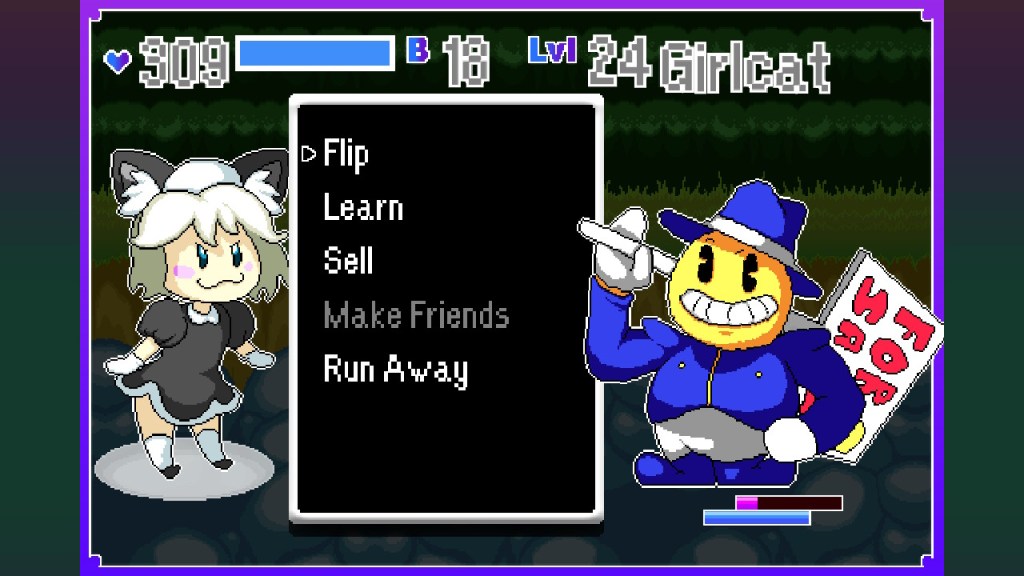
(R) in front of their name indicates that they can be added to your party. Unless otherwise indicated, I only used the React function for the instructions below and not Attack. In the info their attacks as an opponent are described first, followed by the Burst Skills they use as an ally if they can be recruited.
Your allies’ HP increases as you level up. You gain Burst Points by choosing the right Reactions or attacking an enemy.
***These images were cropped, edited, and watermarked from game screenshots for reference use only!***
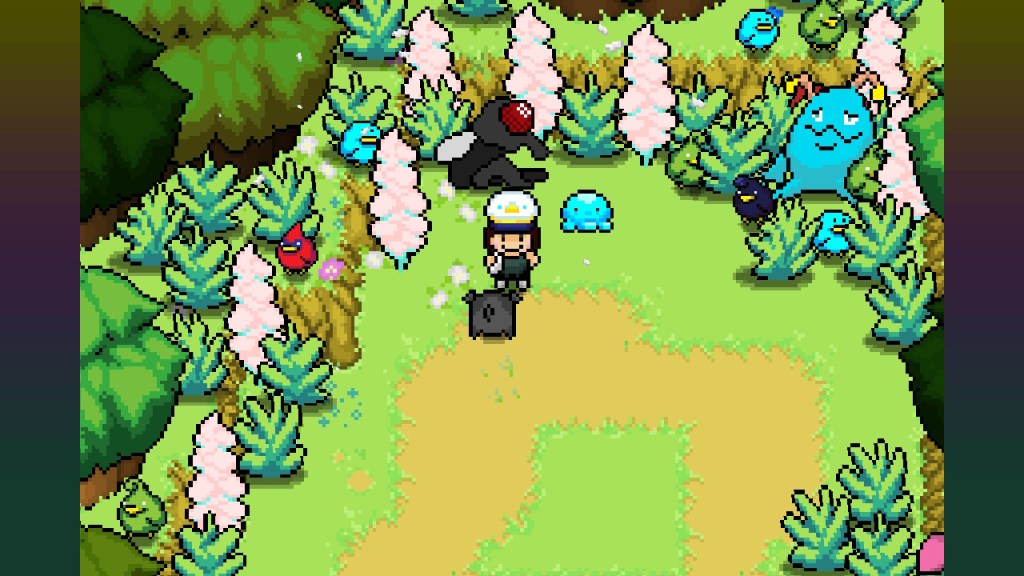
The Plains
(R) Doggy
- Where: On the screen with the statue Richard and James built, continue down and get the wiener dog to follow you. Backtrack past the statue and go left 6 times past the save point with the red/blue/yellow trio. Go up on the next screen and into the doghouse. Talk to him and accept his challenge. Go outside and start the fight.
- React: Keep choosing the “pet” reaction and dodging attacks until his friendship meter is full.
- Attacks:
- Dodge words he barks
- Chases you around the box
- Dodge knives he throws up in the air (which also come back down)
- Burst Skills:
- Sniff – 5 BP – Learn the opponent’s stats
- Howl of War – 55 BP – Raises your attack by 5 and defense by 1 each time used
- Go Fetch – 35 BP – Screenshot shows “Your backpack can’t hold anything else” but this might be a stealing ability instead.
The Fly
- Where: on the screen with the statue, go down across two bridges, where you’ll meet Richard & James + the fly. You previously ran into him (I always chose the dialogue that made me sound confident about a fight against him).
- React: When the fight starts, it seems like all 3 react options have about the same effect. “Insult” may work just a little better? The fly can attack twice in one turn, and is pretty tough. I had to turn on Chill Mode to succeed.
- Attacks:
- Projectiles come at you from all sides (keep moving along the sides of the box)
- Two wheels with 4 energy balls each come towards you & converge (need to kind of get in the center and up & left a bit?)
- Flies come at you from above and below (keep moving)
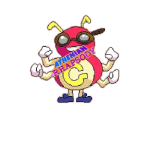
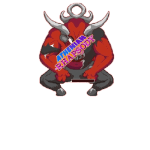
Primo
Meesha
- Where: go to the Fish Fry shop and buy Crispy Fish for $20. Keep it in your inventory and don’t use it. Save then go inside the building next to the Party Manager (clown). Go into the next room.
- React: I did Exorcism x3 then Why when told a joke. Then Tickle x2. Tickle may be most effective? Get the Captain Hat from the box after befriending him.
- Attacks:
- Throws curved fish bones at you to dodge
- Cat face appears with top & bottom fangs coming out at the same time to dodge.
- Shoots a sudden eye laser beam at you from the right side.
(R) Scrutnhausr

- Where: go to the ice cream shop and talk to the ice cream. This is a multi-step side quest that has you return to Primo a few times. The “Scoopies” only appear after starting the quest.
Hint 1: “Located next to a relative of the first boss. Fly around and find it.” Backtrack to the area with the giant fly who mentions their cousin. (Before reaching Primo.)

Hint 2: Return to him after getting the first Scoopy. “Located in an annoying maze where you’re warped around, in the middle of a dense forest!” When you reach the portal maze in the Forest of Fortune, take the right portal to grab the Scoopy then once you get to Secundo use Big Squeasel to fast travel to Primo for the next clue.
Hint 3: “Located somewhere near a large kitty cat shaped gong.” In the room on the far right with the gong and Long Cat (below) on Magic Mountain, take the following path on the arrow pads: Go up, right, right, up (find 3rd Scoopy there), then continue to the Long Cat boss.

Hint 4: “Located somewhere that you’d go to hit the weights, but also check out some marine life.” After the avalanche save and go to the McFishness Fitness Gym. The fourth Scoopy is right outside.
Hint 5: “Located in a sacred and special realm, filled with pink and untouched by the corruption of Athens.” After going to the area at the top of Olympus (with the mirror), fast travel to Secundo and talk to the person at the museum. Take a left out of Secundo then go down. Stay on the right of the forest until you see pink trees. Agree to go with the creature there and you’ll see the last Scoopy next to the save point.
- Where: Return to Primo with the last Scoopy and save, then talk to Scrutnhausr.
- React: Keep choosing Lick until he sits down. Lick him one more time then Befriend.
- Attacks:
- Drops large scoops of ice cream one at a time (think it’s the same pattern every time).
- He lets melting ice cream drip down
- Shoots large scoops of ice cream from the right; use the ones he already shot as cover and the new ones should stick to them instead of hitting you. He may also pour melting ice cream drops at the same time. Or he’ll drop the large scoops from above at the same time he shoots from the side.
- Burst Skills:
- Sprinkler – 40 BP – Adds a nasty rainbow-sprinkled smash to your next attack
- Hearty Scoop – 22 BP – Heals yourself and the enemy for a portion of your max
- Icy Shield – 60 BP – Spawn a power shield that eats 3 hits, but you slip on the ground
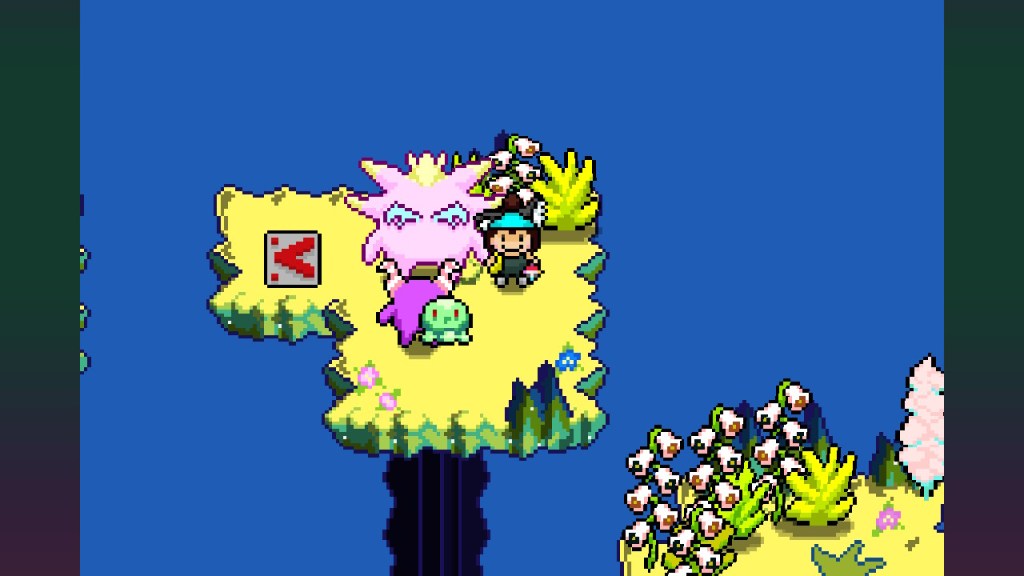
Forest of Fortune
(R) Gilroy
- Where: See Magic Mountain section below. Don’t kill him. You’ll meet him several times and even have a pointless battle before meeting him later on the mountain.
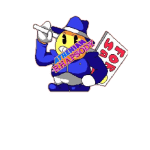
(R) Richard & James
- Where: Richard corners you in the forest. Pretty difficult boss. May want to make sure you have your Burst meter full & have the Tea item acquired from the girl in the building in Primo where you fought Meesha. I was level 8. Afterwards return to Primo and enter the house on the top left. Say yes when asked if they can come with you.
- React:
- Quiz: Has Richard ever been in legal trouble? Richard is above the law
- Some silly spelling questions
- Quiz: Has Richard ever had a girlfriend? Yes
- Quiz: How tall is Richard? One “Richard” tall.
- Quiz: True or false – Richard’s favorite activity is smiling. False
- Quiz: Are you having fun? Yeah
- Quiz: Who is a better battler? The fly
- Quiz: Who is more ripped, jacked, and/or swole? Richard
- Quiz: Is Richard afraid of talking to girls? Yes
- Quiz: Does Richard need a hug? Yes
- Quiz: Does Richard have a long history of embarrassing medical conditions that you should ask James to share with you? Yeah
- Quiz: Is Richard lactose intolerant? Nah, he be guzzling cheese
- Quiz x2 then befriend
- Attacks:
- Richard rushes you kind of at an angle? Sometimes while sending gems after you.
- He sends 3 connected vertical lasers on either side of the box depending on which way he faces (direction he faces is the one where the lasers hit)
- Daggers fall from above across the entire box
- Richard’s Burst Skills:
- Beef Up – 40 BP – Raises your defense stat by 2 for the duration of the battle
- Devious Smile – 25 BP – 50% chance to either attack the enemy, or heal yourself up a tad
- Shield Up – 60 BP – Spawn a power shield that eats 3 hits
- James’ Burst Skills:
- Buddy Heal – 45 BP – Use James’ friendliness to heal up [CHARACTER NAME] and James’ health by a portion of your max
- Bullet Speed – 30 BP – A powerful speed boost, but the effect only lasts for one hit
- Close Calls – 50 BP – Close calls with enemy projectiles will raise your BURST by 4
Franklooner

- Where: After meeting Horatio.
- React: Same as the Franklins: Magic trick, optical illusion, then turn hat forwards
- Attacks: Has balloons attached to him and he floats towards you. Pop balloons?
Giga Franklin

- Where: enter the clown tent. Gather the balls by pressing A. Go to the Giggles Drug Store inside the tent and buy the Clown Wand for $80 and the Clown Fit for $60. Use/equip them. Get through the invisible wall maze by going to the second “column” from the right and then going to the far right and fjdhsb.
- React: Flirt or do a trick seem to increase the same amount of friendship
- Attacks:
- Dodge the balls and bowling pins that quickly drop from the hat above and ricochet
- 2 hats across from each other swing in a circular pattern and you need to stay away from the space in between them.
- Memorize the pattern when the arrows light up and copy it when it’s your turn
- Crescent moon blades move around and hit you
- Drops large balls that ricochet
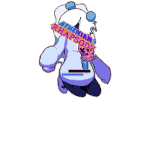
(R) Nylon
- Where: talk to the cashier at Giggles Drug Store in the clown tent. Select “Nylon.” Get through the clown tent to Secundo then use the fast travel to return to Primo for the next Scrutnhausr clue. Go up from Primo to the Forest of Fortune and on the top left of the first screen there’s a house. Enter it and then touch the three harp instruments (I hit the left, top right, then the bottom one). Now you can enter the room above. Say yes to his question.
- React: Whistle seems to work best?
- Attacks: Rhythm game-ish. Dodge green stacks that come towards you, press up or A to jump over yellow arrows. Green arrows come back towards you again so be prepared to jump again.
- Burst Skills:
- Serenade – 35 BP – Heal up the whole party by a portion of your max health
- Bunny Hop – 35 BP – You can use a quick dash ability. Lasts for 2 hits, and stackable
- Bunny Jump – 50 BP – One invulnerable rabbit dash that saves you from damage
- Extra: Once finished go to the Illness section in Secundo below. After completing everything in Secundo, take Nylon with you to the screen to the left of the Museum in Secundo. Go straight down and he’ll say he wants to leave. Continue down all the way and then go up where the white foliage is into a hidden room. He’ll temporarily leave the party and become unavailable for a while.
Secundo
(R) Illness

- Where: Enter the Dr. Illness building right as you enter Secundo. Talk to the plague doctor guy. Answer that the birds in the forest need help. Then “I will defeat your stinky crew in a rap battle.” Play the rhythm game x2 (second one isn’t really possible to win). Return to the Forest of Fortune and complete the Nylon section above if you haven’t already, then go to the house with the mushroom outside of it on the same screen as Nylon’s house.
- React: Rap, rhyme, or break it down all seem to work just as well.
- Attacks:
- Sends a line of bottles that arch to one side
- Rhythm game
- Burst Skills:
- Plague Meds – 45 BP – Restore health based on the damage of your next attack
- Get Hyped – 65 BP – Boosts your attack by 10 and defense by 2
- Quick Fix – 20 BP – Restores a tiny amount of health, in a pinch
(R) Horatio
- Where: once you’ve passed the portal maze in the Forest of Fortune, move past the dumpsters and you’ll be stopped by Horatio. Meet him at the café in Secundo. Exit after the scene and go right. Then meet him at the Ar-Cave on the top right of Secundo without anyone in your party and play the easy arcade games (bug game’s controls are confusing but you hit ZR/A to get the bug to go higher, need to avoid the white walls). See Chianti section below.
Video Boy

- Where: automatic battle when you go right in the Ar-Cave to cash out with Horatio.
- React: Talk until you reach a point where a spaceship comes down. Getting higher scores with the shooting seems to damage his HP, and once it’s close to 0 his friendship meter fills up.
- Attacks: Shoot the enemies coming down towards you; hit the exclamation point balls to destroy a lot of them at a time.
(R) Girlcat

- Where: once you’ve finished with Video Boy and Horatio leaves, save then go left inside the Ar-Cave. Talk to the girl on the very left and say yes. I chose “give the thief a hug and a kiss,” “give it a smooch on the cheek,” “take out the sword,” then “give it a belly rub” when moving around the game room. Fight the dragon at the end.
- React: I chose Tickle, Hug, and maybe Smooch then Make Friends? Get the Neko Armor once you’re done and then GirlCat joins you.
- Attacks: Fire balls come from the left and right and move towards the middle.
- Burst Skills:
- Neko Leap – 35 BP – You can use a dash ability! Lasts for 2 hits, and stackable.
- Kawaii Shield – 60 BP – Spawn a kawaii shield that eats 3 hits
- Teamwork! – 40 BP – Heal up the whole party by a portion of your Max Health
Magic Mountain
Nikko

- Where: Go up the stairs past the save point, take the right arrow pad, and right into the next area. Take another right arrow pad and go right. On the left side of the room take the right arrow pad, then continue right. Take the right arrow pad in the lower left then go all the way up. Save and go up. Nikko appears and wants to fight you.
- React: Meow, Small Talk, and Insult all seemed to work equally well.
- Attacks: Save beforehand. DO NOT POP THEIR BALLOON OR THEY DIE. Instead, let their projectiles pop your balloon when they attack and then dodge the rest of the projectiles.
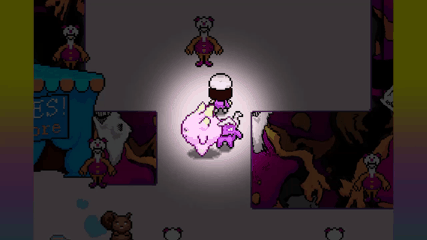
Long Cat

- Where: once you reach a point on the mountain where you can go up or right, go as far right as you can. Pass the long room where Long Cat tries to kill you (stay in the middle of where its paws will land and avoid falling objects at the same time). In one room you’ll run into a girl in front of a sleeping Long Cat, and her friend has gotten lost. Continue right and you’ll eventually end up in an area with a bunch of arrow pads. Go up, right, right, up (find 3rd Scoopy there), left, the down arrow on the left, left, up. Talk to the girl there and respond “I am a freakin viwwain” and she’ll go to her friend. Then take the right arrow pad then down. Interact with the gong 3 times and Long Cat appears.
- React: Keep Petting him until he gets close enough for you to actually make contact.
- Attacks:
- He’ll drop fish from above. As soon as the first one drops get above it and wait for the other fish to drop in a line towards the other side (left/right). Once the last one drops the first one will go back up to the top, and you need to get where the first one was to avoid the rest that go back up. The battle gets more complicated with the addition of multiple layers of fish.
- He’ll blow fur balls at you from the right and they’ll angle up to the left before dropping down
(R) Bobomew

- Where/What: You could probably do this before Long Cat, but I did it after. I was level 12 at this point. Go back to the long room where the Long Cat attacked you with its paws. A spaceship will be there now. Go up and save, then go right. Do the best you can to avoid the balls of light the cats throw at you, and go through two rooms until you can step on a switch. Go back to the entrance and save to restore your HP. Go right to the next room again and a path has opened up. Go left and avoid the light balls again then cross the bridge to the right. Go all the way right and step on the switch. Return the way you came into the middle and go hit the switch on the opposite side. Then go the entrance again and save. Walk right and up then take the leftmost path by the bridge with the box above it. Prepare for two rounds of a very difficult laser-dodging mini game. (Thankfully defeat here doesn’t take you back to the save point, and you reload in the room with the HP you had before starting the dodging game.) He’ll heal you in between the first dodging session and the next one, which is much faster. Any time you can see your HP displayed on the screen in an area, that’s when you have to avoid hazards and you cannot heal at all, and so you won’t be able to heal yourself during this mini game. 😭 If you manage to beat both rounds, he’ll join you right away without a fight! Save at the entrance right away!
- Burst Skills:
- Space Dash – 50 BP – One invulnerable space dash that saves you from damage
- Close Calls – 50 BP – Close calls with enemy projectiles will raise your BURST by 4. Lasts for 3 hits
- Abduction – 50 BP – Heals [CHARACTER NAME] by half of their maximum HP
(R) Gilroy
- Where: first meet him in the forest early on, but you don’t have a proper battle until Magic Mountain past where the Long Cat had been sleeping. Say you still have his sandwich even if you don’t.
- React: Taunt & Bugs seem to work the same amount.
- Attacks:
- Tiny bugs in a circle come together in the center then separate in all directions. Multiple circles at a time.
- Small balls move back and forth across the screen for you to avoid. Sometimes spikes come back up when the balls vanish at the bottom.
- Burst Skills:
- Punch – 10 BP – Has a chance to do some damage. The amount of damage varies, based on…Gilroy?
- Gilroy – 4 BP – Gilroy reminds the enemy that he is Gilroy. The enemy is now aware
- Taunt – 0 BP – Gilroy taunts the enemy, making them sad
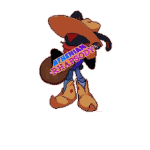
Chianti
(R) Goobo

- Where: When you get to Chianti, add Gilroy to your party and fast travel to Primo. Go up and left past the statue Richard & James made you, left past the piano, and then left again. In this area you should see a “Goobo Park” sign. You can only get in here with Gilroy. Use the save point on the right then interact with the tree with a G on it and say yes. Then interact with the orange figure and a battle will begin.
- React: “Goobo” is the only reaction option so just keep picking that until he says “Goobo done” and his friendship meter goes to 100%.
- Attacks:
- Drops oranges that split into slices when they land below: you need to jump just before they land and split in half in order to avoid the slices.
- Oranges in a circle come together and then separate again.
- He will walk back and forth above you and drop oranges straight down, then a line of them. When he turns red and drops oranges, he’ll be much faster and then also include the orange circles that come together & separate.
- Burst Skills:
- Hyperspeedo – 30 BP – Goobo grants you a 3 hit speed boost, at the cost of 1/5 of your health
- Goobatron X – 60 BP – Goobo focuses his mind’s eye and unlocks a mighty powerful draining attack
- Gifted Goobo – 40 BP – Goobo will run off and fetch a mystical fruit for you both to consume
(R) Horatio
- Where: go inside Chianti. He asks you to go get some items from the dining room for him. Be careful and dodge the waiters; flower and suit are on the top left but you have to get them separately. Purse on the bottom right (have to dodge pizza slices that drop from above for this one). When the battle starts he’s going to attack with several attack modes in a row for his turn
- React: Choose the “Shoot Hoops” reaction and press the joystick up to get him to draw his arms back. Do it quickly and release when his arms are all the way back with A. You get 3 shots per Shoot Hoops react. Getting the ball in the hoop increases his friendship meter each time. Keep shooting until something happens to increase friendship to the max.
- Attacks:
- Jump on a platform to avoid the flames
- Jump in between the flames coming from the bottom right
- Avoid flames coming from both the top and bottom right.
- Flames will come from both the left and right on the top and bottom of the screen and merge in the center then separate to either side again.
- A stack of fireballs will come from the left to the center then retreat and alternate the stacks coming from left/right.
- Burst Skills:
- Fireball – 50 BP – Chuck a fat ball o’ flame at the opponent, doing some gnarly damage
- Demonic – 20 BP – Saves you from putting out a low damage hit if you mess up on the timing bar
- LifeBlood – 40 BP – Restore health based on the damage of your next attack
After recruiting Horatio, save outside of the restaurant then go back in and head to the back of the dining room and exit there. (This took me forever to realize where to go in my first playthrough! 😭😅)
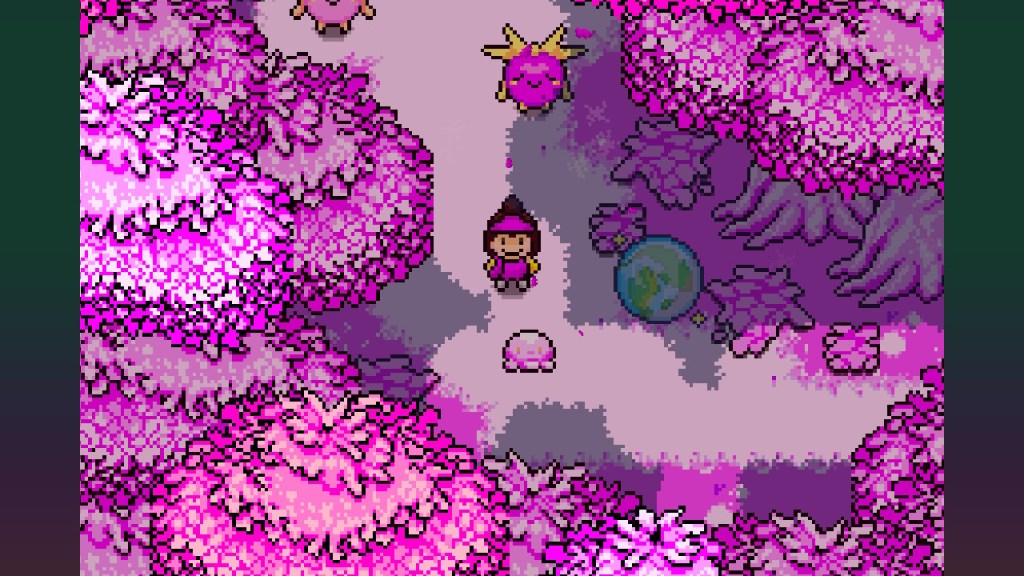
Hiemal Tundra
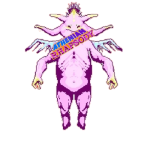
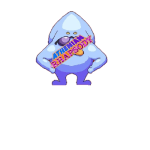
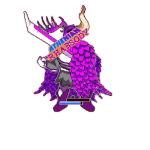
Fantasma
- Where: On the screen after the Hiemal Tundra sign, go up. You’ll see a gravestone that’s missing some flowers. As you pass through the tundra, you’ll see some blue ones (x4) that you need to pick up first before returning to this screen. There’s one on the middle train track on the screen with 3 Chuggas, then on the screen with all the Bearables go left and down to see a sign that says Art Zone and the second flower. Just after the avalanche, you should see the save point, Party Manager, and fast travel point. Above that, there’s the 3rd blue flower under the sign for McFishness Fitness. For the 4th flower, go past the area with the Griffens and pass by Nylon (should be there if you followed earlier instructions). Next screen should have some giant statues and then a Chugga below the flower. Grab it and backtrack to the graveyard (fast travel to Chianti to make things go faster). The large gravestone should have all 4 flowers; interact with it to start the fight.
- React: Judge then yes then flirt x3 and befriend. The small gravestone on the right is gone afterwards, and you acquire Hot Boots. (I assume the left stone goes away instead and you get the other item for defeating her vs befriending?)
- Attacks: Scythes rotate as they fall from above; sometimes she’ll shoot purple flames at you, which cause your movements to reverse. Move left to go right, etc. Avoid the scythes again.
(R) Aerosol

- Where: go down the hole that says “Art Zone” next to the 2nd blue flower on the screen with a lot of Bearables. Go up to the easel. The battle starts and you get to draw whatever.
- React: Hit the Draw reaction each turn until the friendship meter is full. Afterwards Aerosol joins you.
- Burst Skills:
- Double Check – 40 BP – Comes back and hits twice on your next attack
- Color Instinct – 60 BP – Lowers your defense significantly, but gives you a hearty attack boost
- Meditation – 20 BP – Resets your defense and attack, but also heals you up a bit
(R) Gottheil

- Where: Towards the end of the tundra (I think recruiting Nylon and following the instructions above are prerequisites for this?)
- React: Choose any react options until you see “don’t kill,” then run away when they say to. Stay on the right side of the screen and flee upwards. See more below.
(R) McFishness
- Where: go inside the gym and pay, then go to the center of the room towards the gold weights. Answer yes then go to McFishness. You’ll fail at that then go get the feather from the entrance and bring it back to McFishness. After that avoid falling weights and grab all of the protein around the gym. Then the battle starts.
- React: Hit react prompts like “Pump up” and “Flex” and “Pose”; when control prompts appear with his arm keep hitting the displayed button until the prompt changes.
- Attacks:
- Water drops down and then he’ll follow your movements and drop gym equipment
- Rhythm game
- Lines of protein block off the sides of the box and a weight drops down and ricochets in the small space
- Burst Skills: missed taking screenshot of his abilities 😅
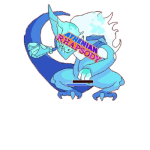
Freezeflame
- Where: after the light reflecting puzzles at the end of the tundra.
- React: Choose “Pet” multiple times; hand will appear and you need to pet him while avoiding falling snowballs. Maybe don’t pet its mane?
- Attacks:
- Snowballs break apart into multiple pieces in circles.
- He shoots a large snowball towards you from the right, which breaks into smaller and smaller pieces that come towards you.
Olympus
Buy Gold Dagger for $260 and Arm Bands for $260 at the store on the top left. Then ask the Milk Man for Special Milk in the store just to the right and keep saying you’re sure to trigger the Milk quest (included below).
EXTRA: Gilroy
You should have already befriended Gilroy by now. Put him in your party and go to the house on the left as you enter Olympus. Take the item you get there to the “Thunder Goober” in the area to the left of Secundo. I’m uncertain as to what benefits his “gift” provides you with, but you can resolve any issues by going to Johnson Ave by the forest.
(R) Build-A-Boss

- Where: go to the Build-A-Boss
Workshopbuilding, design your boss and name it, then fight it. DO NOT KILL IT if you want to gain a new party member; you can’t make another one. - React: Rub Belly until friendship is maxed out
- Attack: Large objects fall from above
- Burst Skills:
- Companion – 30 BP – Patch up your wounds for a few extra health points. Great on the fly!
- Speed Up – 50 BP – Gather your strength for a moderate speed boost that lasts for 2 hits
- Rough Hit – 40 BP – Gear up and raise your maximum damage output on your next attack
Flipper
- Where: Go to the bottom right of Olympus past the cat party house. Talk to the house flipper and respond “Um ok.”
- React: Choose Learn and maybe Sell?
- Attacks:
- Houses slowly drop one at a time
- Shoot at falling houses and also shoot the money bags? Realtors may appear at the bottom & come up towards you (avoid)
- Shoot at realtors coming down while avoiding the ones coming up then shoot the building and the people who come after you. This should max out the friendship meter.
(R) Gottheil
- Where: go to tournament at the building on the top right of Olympus. Watch the scene.
- Burst Skills:
- Axe Slash – 70 BP – Deal instant big damage to the opponent!
- Berserk – 20 BP – Lasts for 1 hit, raises your attack and defense to 1.5x its original power
- Sacrifice – 40 BP – Gottheil is knocked out, but her remaining health goes to you
(R) The Hero
- Where: go to the next area at the top of Olympus. Then fast travel to Secundo and go to the Museum. Talk to the person there and then go left and down into the forest. Keep on the right until you see pink trees. Go to the right and agree to go with the critter. Travel through the forest and solve the light puzzle, then continue on to a sword. Interact with it and then ask the person who they are. Afterwards, exit the forest and return to Secundo to fast travel to Primo to recruit Scrutnhausr. He should be the last one – you seem to need to have all 15 of the other party members recruited to fight The Hero? Return to Olympus and go to the top area with the mirror. Say “I respect you.”
- React: When the battle begins I tried all 3 options, which all turned into “Fight” under the React menu. Not sure if you need to choose all 3 Fight options under React or if you can just go with one, but I picked all 3 to be safe. DON’T choose to Fight the normal way – select the options under React. When you’re done you get The Hero as an option for your party, upgraded Burst Skills, and you can display your Hero status by wearing the sword.
- Attacks:
- Sends one arrow at a time down at an angle, then its pieces ricochet off the ground
- Shoots one arrow at a time on one side of the box while you’re kind of magnetized to stick to that side. Quickly move the joystick to the opposite side.
- Arrows come from all directions with the ricochet effect.
- Tiny arrows and larger ones with the ricochet effect come at you from all sides. Just keep moving around.
- Burst Skills:
- Fate – 40 BP – Doubles your attack and defense, but you can not switch out or use other burst skills
- Counter – 55 BP – Applies all of the damage you take to your next attack
- Hang On – 80 BP – Saves you from death once
THE GARDEN
Gluttonous Spirit

- Where: go through the back door of the arena on Olympus. You’ll arrive in The Garden. Feed the green critter a golden apple 3 times, then continue on the path and take an apple.
- React: Choose to Feed every turn until he takes the food. When it says he’s dozing, choose to attack but try to keep the attack meter low so you don’t do too much damage. Repeat the process until his friendship is maxed out. You can buy apples from him for $60 afterwards.
- Attacks:
- Small candies come together in circles then separate back out again.
- He appears above you and drops ricocheting candies as he sticks out a giant tongue to hit you below.
Greedy Spirit

- Where: after the Gluttonous Spirit, you have to lure the bird towards the golden apples on the right. But he explodes if he gets too close to you, I guess. So you have to kind of delicately walk left towards him a little then quickly walk back to the right and repeat until he gets to the apples then eats them and gets them out of your way. From there, you’ll see a dollar on the ground. Keep trying to grab it and the Greedy Spirit will appear.
- React: Attack him twice to get his attention. Then he’ll ask you to pay his fee. Choose to Pay Up. He’ll stop paying attention to you so you need to attack him until he asks for a fee again. Repeat until his friendship is maxed out. Talk to him afterwards and he’ll give you some money.
- Attack: Drops money bags, which explode and reveal cash and gold bars (cash comes towards you, bars ricochet).
Bedtime Boy
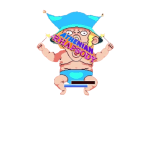
- Where: Past the Greedy Spirit, you run into the extremely disturbing Bedtime Boy.
- React: I chose “Gas Up” but I don’t know if that matters very much. Once he sent food into his mouth, the only reaction option was Tickle, which then maxed out his meter.
- Attacks:
- Drops crescent moons
- Asks about your favorite food (I chose pizza so he dropped some slices onto me)
- Cars come at you diagonally from all directions
- Sends food from the left into his mouth.
Milk Quest
***EDIT: Dev just announced that the locations are randomized with ~20 different spots. But I’ll leave this up to show how to start the quest as well as how tough the bottles are to spot sometimes! Good luck!***
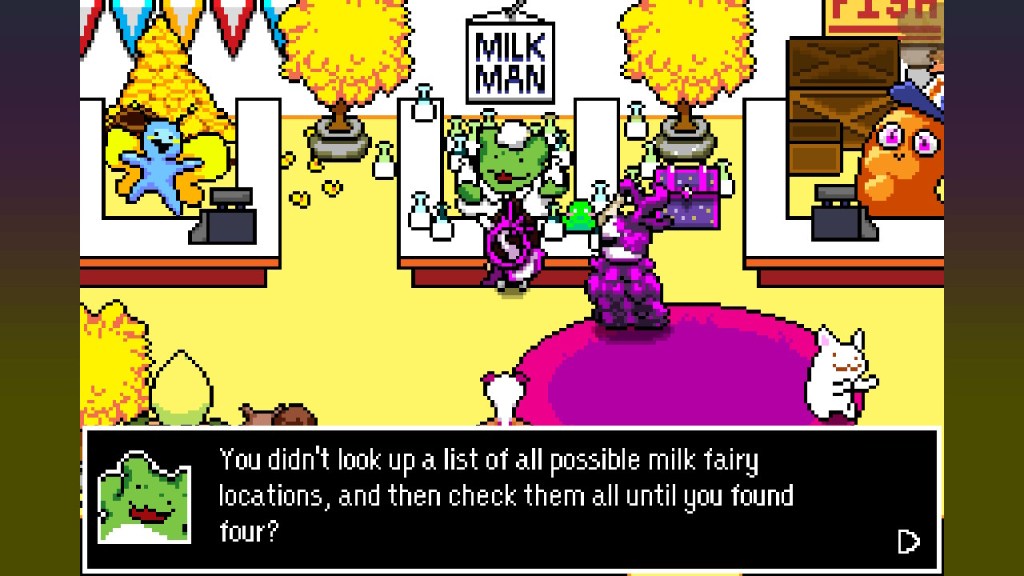
I assume you need to have had your vision improved by the person at the Museum in Secundo after going to the mirror above Olympus for the first time?
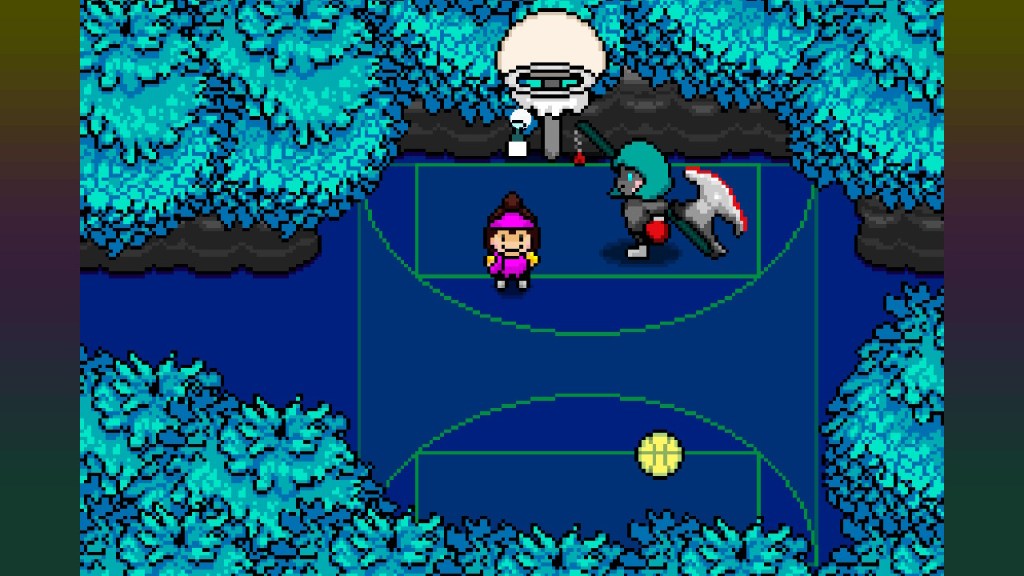
- 1: go to Secundo and travel south through the clown tent, past Johnson Ave, and the fairy will be in the bottle in front of the basketball hoop.

- 2: in some foliage in the area below the “Rest Stop” where you fought Nikko in Magic Mountain.
- 3: on Magic Mountain, on the save screen right before the gong where you fought Long Cat, there’s a bottle in the plants to the right of the save point.
- 4: Past the Gluttonous and Greedy Spirits in The Garden, there’s a fairy under a tree.
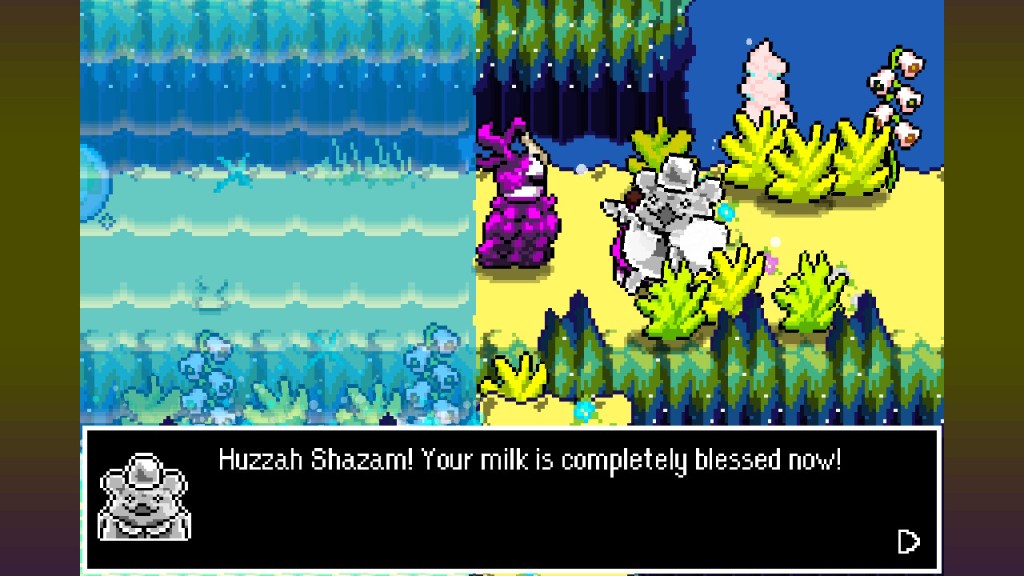
Return to the shop on Olympus and give the Milk Man frog the 4x blessed milk. You get a Milk Badge to use on your character or one of your party members, it seems. But I’m not sure what that does. I thought that was the end of it but my Rhapsody said I didn’t finish it so there seems to be more to the quest.
Possibly Missed:
- A frog in the Forest of Fortune is protecting a treasure. They say only the Hero of Frogs can have it (The Hero mentions there’s a frog in the water next to Chianti but how to get?)
- Deer by portals in forest
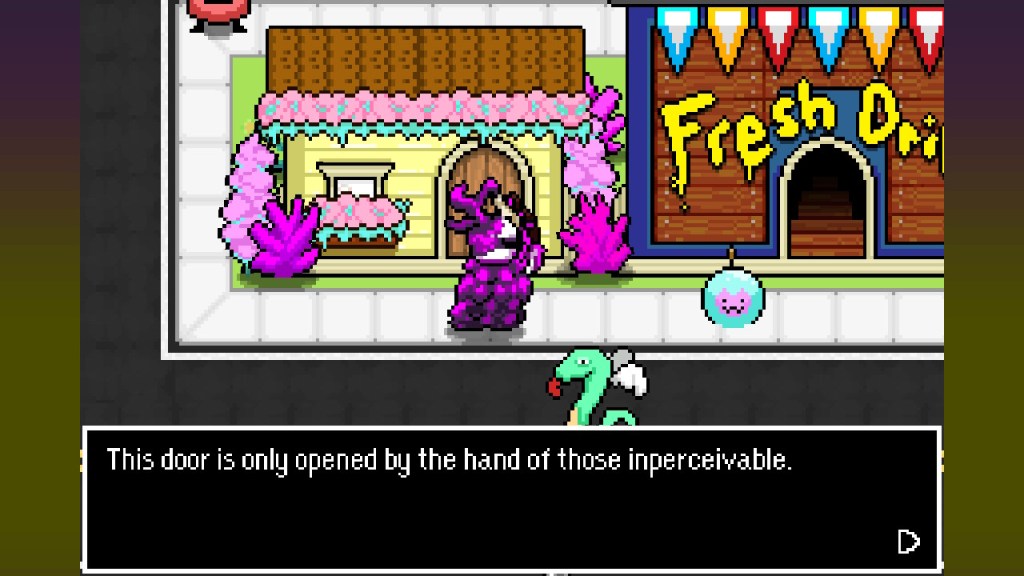
- In Primo there’s a door that can only be “opened by the hand of those imperceivable.”
- Cat party house in Olympus?

Leave a comment